COMPUTER CONTROLLED CUTTING
TASKS TO DO -CUT SOMETHING USING THE VINYL CUTTER. DESIGN,CUT AND MAKE A PARAMETRIC PRESS FIT KIT.
VINYL CUTTING
A vinyl cutter is a type of computer numeric controlled machine where the computer controls the blade in the vinyl cutter.The vinyl cutter is capable of moving the blade on the X axis and the material for cutting in the Y axis. Vinyl cutting are mainly used in the sign making industries for sticker cutting, long banners etc.Vinyl cutters can cut self adhesive vinyl stickers of different colours,frosted adhesive vinyls,thermal transfer vinyl,reflective vinyl stickers etc.
The Different processes included in Vinyl Cutting are:
2)Vinyl cutting: We have to load the Vinyl sheets,test cut and adjust the cutting speeds
and force and make the final cut.
3)Weeding: Weeding is one of the main process in Vinyl Cutting.We have to weed out the positive
or negative part of our graphic as per our needs.The tool used in weeding is known as tweezer.
4)Transferring: The last and final part iis to transfer the vinyl from the sheet to the
required place and this is mainly done using a transfering tape or masking tape with low
adhersion rate.
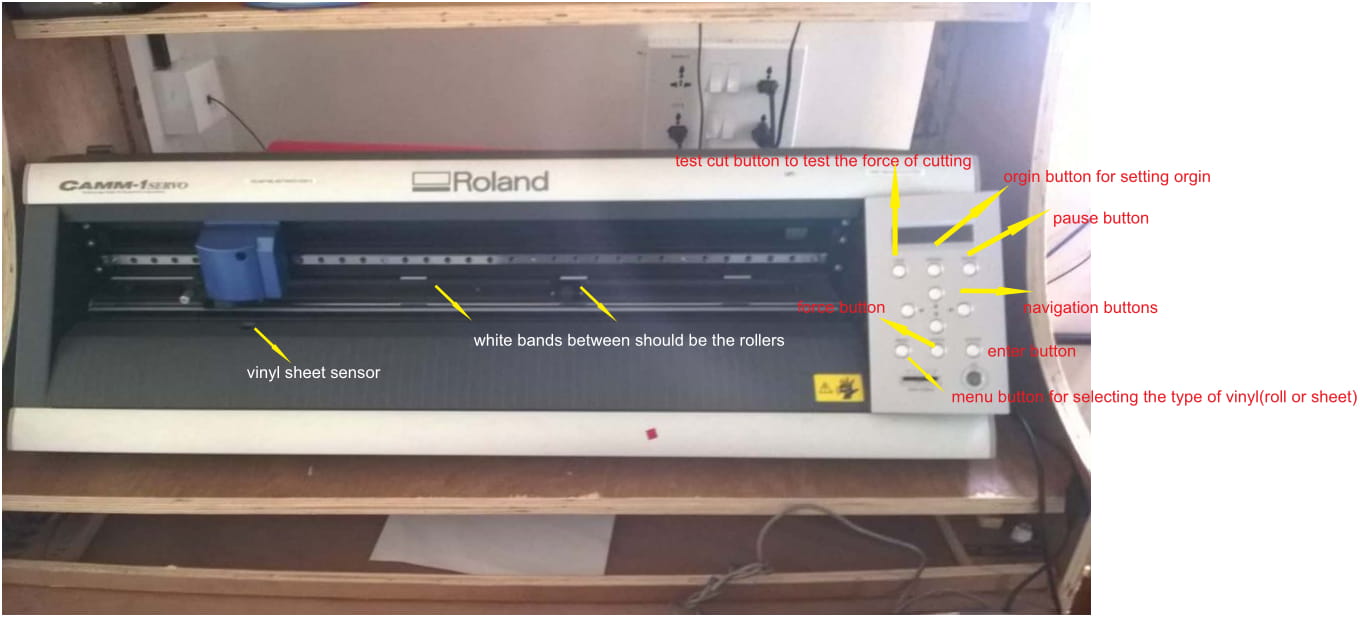
MACHINE SETTING
Setting up of Vinyl cutter includes:
1)Switch on the Vinyl cutter.
2)load the vinyl sheet (in roll or sheet which we have to select on the machine menu)
3)Vinyl loading is a more important process,basic steps to follow are:
We must unlock the clip at the back to undo the rollers and enable the vinyl sheets in,after loading put the clip down to lock the rollers.
Vinyl sheet must cover the sensor then only cutting happens.
The Vinyl must be loaded between the white bands on the machine wheather in sheets or rolls.
4)Now we have set the material to cut and now set the orgin by long pressing the orgin key on the machine after navigating the plotter head to position
5)Test cut and adjust the speed and force and begin you cut.
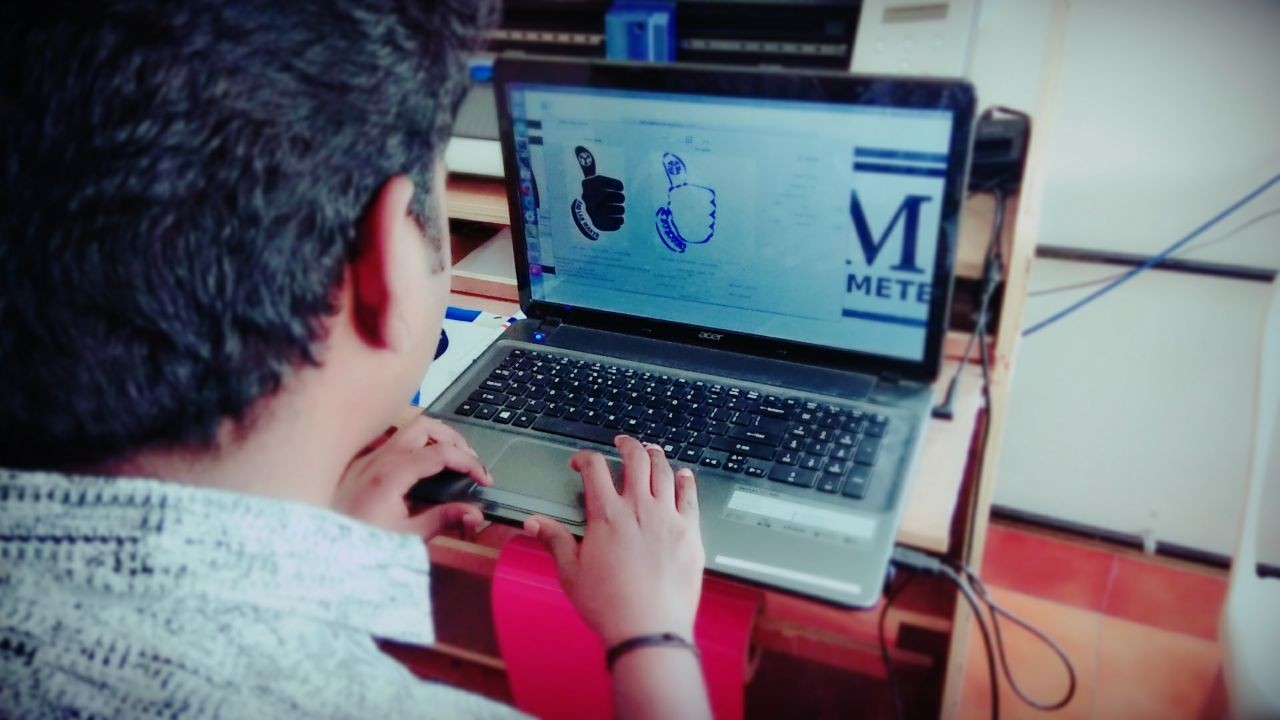
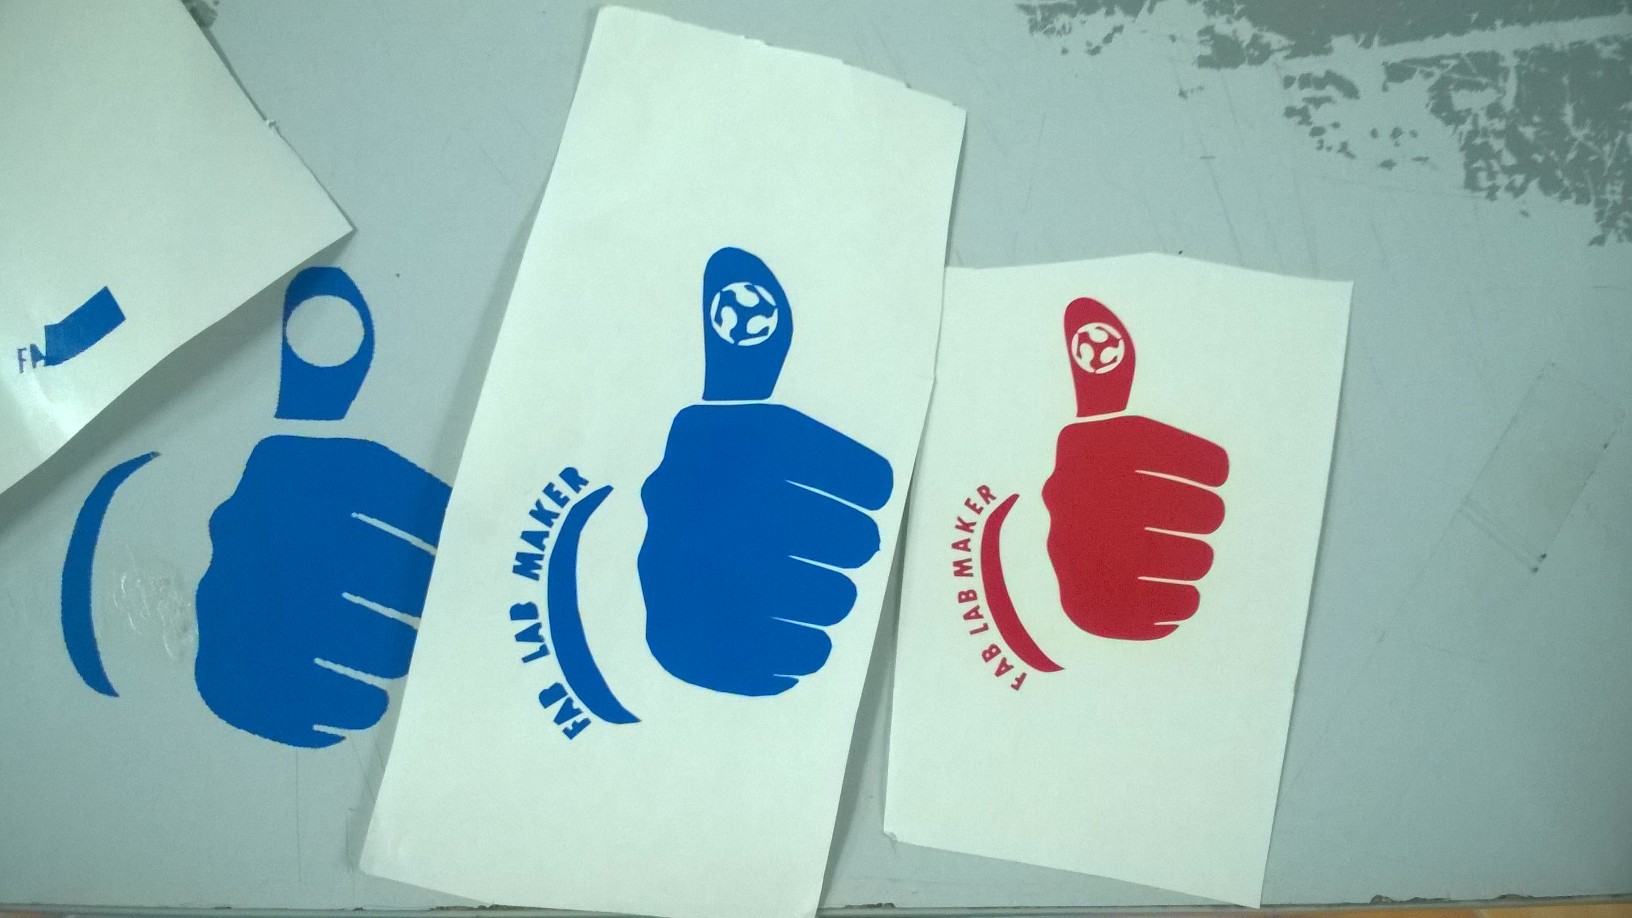
The learning outcome from previous week designing class gave me confidence to create a new vector logo using photoshop and Inkscape.My idea was tomake a logo for Fab academy products which shows a sign of thumbs up with fab logo on the thumb.For this i downloaded two thumbs up logo and merged them together to have a good look and made the vector of the image using Inkscape.
Working with fab modules
In our lab the vinyl cutter can be connected using Fab modules.For entering into Fab modules we have to type fab in our terminal and in the window that appears we have to select input format and select the machine (roland vinyl cutter).Then a window appears in which we have make path of the input file and choose the appropriate velocity,force needed for our cut design.
Firstly i cut my design with a speed of 5 cm.sq and 90 g force.While converting my image to png something happened and my vector file has lost its resolution and it had became a raster image.Unnoticing this ,i went on to cutting and weeding and ended up in vain.
After checking and cross checking, I made some alteration in my design and again carried out the cut.This time the cut was ok but the parts inside the letter was not coming out and the weeding process took about half an hour.
Again after a consultation with my fablab instructors,I went on for the third time but this time with a force of 120g and velocity of 2 cm.sq.This time it was a perfect cut.
LASER CUTTING
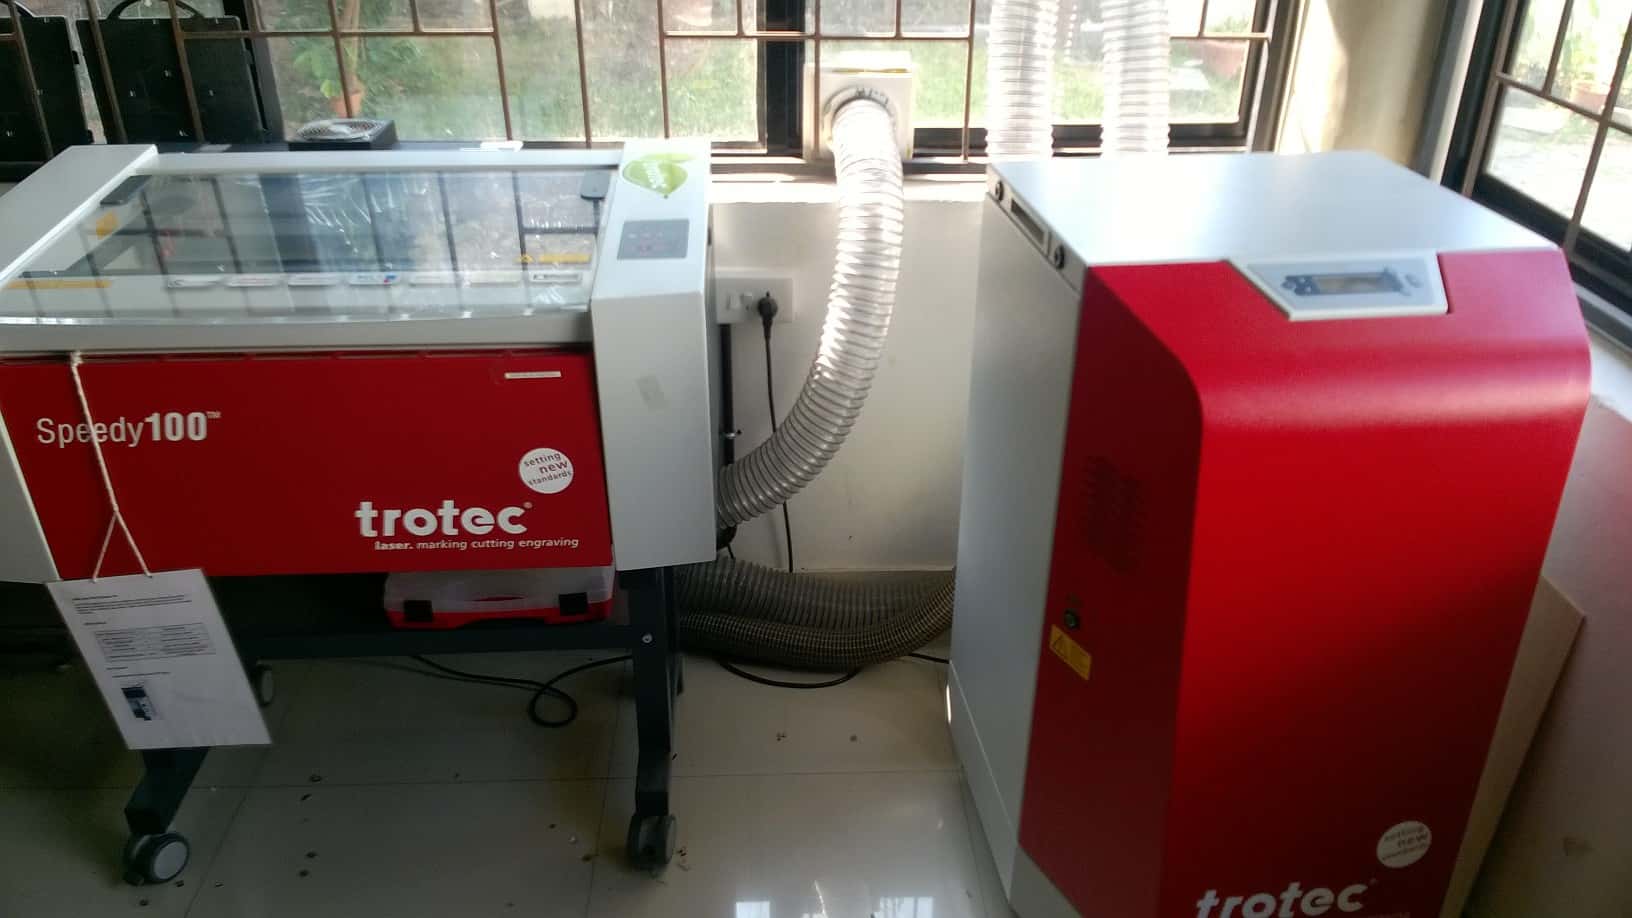
Laser cutter works on the technology that uses laser to cut materials as well as engrave ii.At our fab lab we have a Trotec Speedy 100 CO2 laser cutter with a bed dimension of 30 cm * 60 cm.It is accompanied with a seperate air filtering chamber unit.The working principle of CO2 laser is as follows: In the laser machine the head of the machine moves in X and Y direction where the plate holding the material can move in Z direction.The bed has to be focused using the focus tool before the laser operation starts. .Laser beams enter from a side of laser and it moves towards the head.Inside the head it has a 45 degree mirror for reflecting the beam to 90 degree position where it encounters with a lens(Zinc Selenide) which focuses on the material and the beam exists through the bottom cutting the material.Air is fed inside the chamber during cutting and the this along with the laser beam vapourizes the material and hence cutting operation is done.
Precautions while using laser cutter
Unlike Vinyl cutter,laser cutters can be a sort of dangerous machine.It can run the risk of catching fire,so do not leave the machine unattended.The laser beams when hit our body shall cause severe damages.Therefore the machine has to be handled with proper care.It is better to have atleast 2 people while attending the laser cutter.
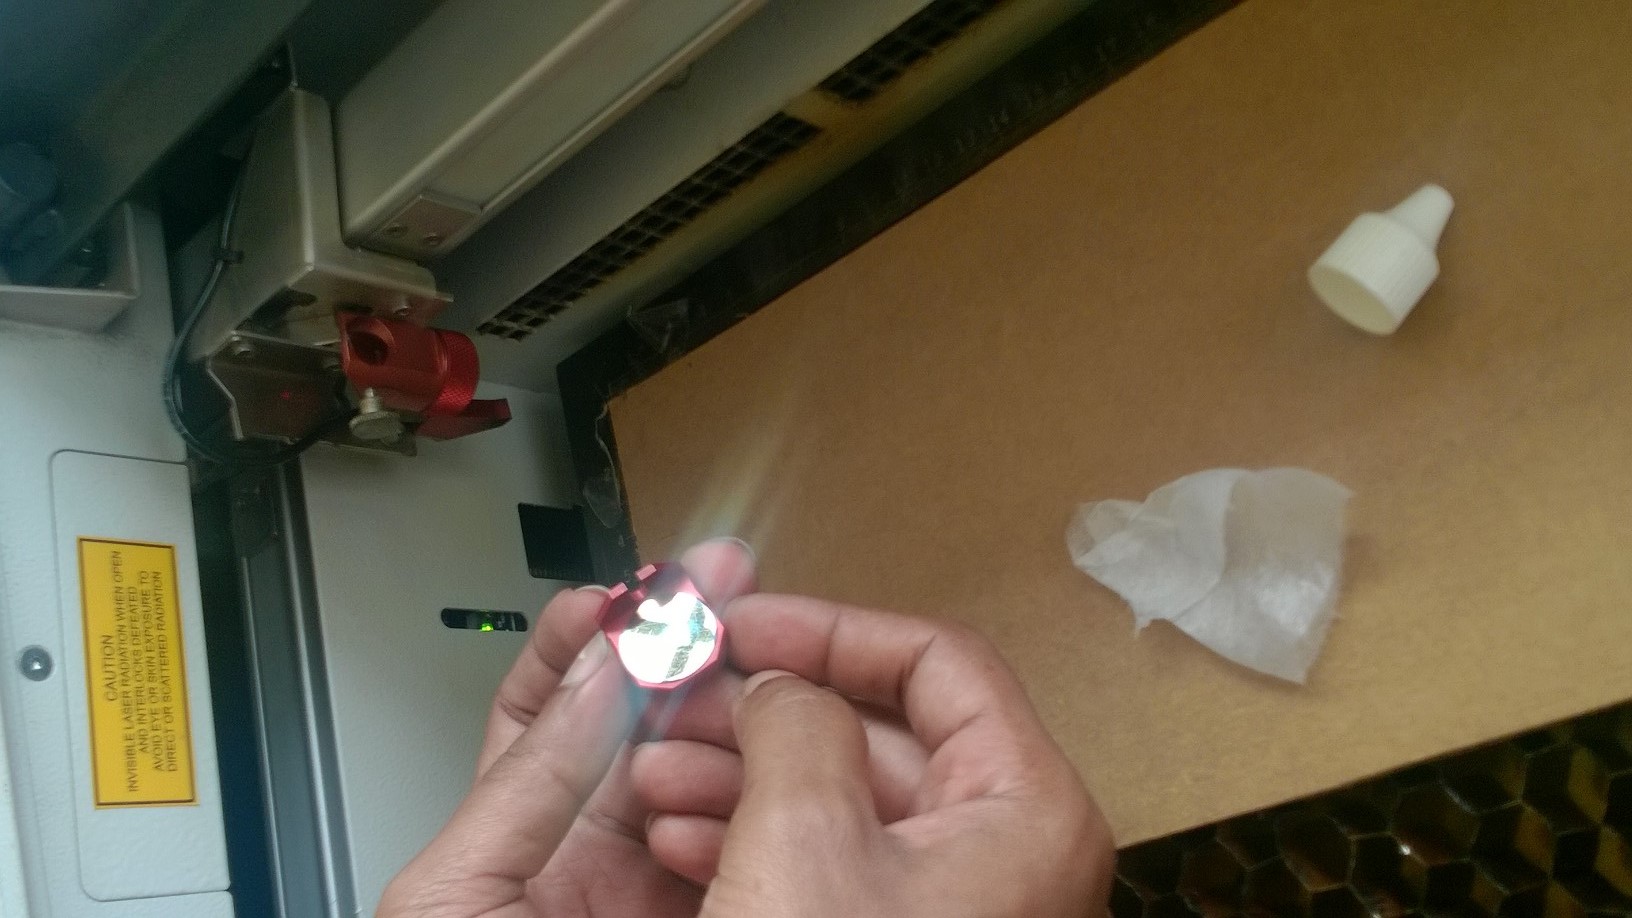
Also each part has to be taken with atmost care and periodical cleaning is needed for the lens and mirror inorder to maintain its precision in cutting.Both the lens and mirror are to be cleaned withta liquid inorder to remove the dusts and vapour from previous cutting.

CHARACTERIZATION OF LASER CUTTER
Characterization of our laser cutter include cutting test parts on
different materials.We have to find the resultant dimension after kerf slit on different materials.
Basic steps of laser cutting are:
1)firstly we have to convert our drafted file to ,dxf format and open it on Inkscape.
2)In Inkscape we have to set the stroke settings and layout (in our laser it is red for cutting and black for engraving).
3)Now go to print option,set the print preferences(we have to select the material and cutting force )
4)After that Trotec print manager window appears and this time we have to switch on the machine.
5)Now we have to set our material in the laser bed, focus the head using focus tool (the focussing tool is held
the close to the laser head slit, and the bed is moved closer to the head using buttons (Z axis) on laser cutter till the tool touches
the material in the bed and just falls.Now the bed is set)and set the head to cutting position.
6)Select our file and choose the communication option and in the window we can see the laser pointer,arrange the file to its tip and
before cutting on the filter unit.Now click the ready button and the cutting starts.
7)After cutting open the laser only after the fumes have escaped.Carefully release your material after checking the cutting depth.
You can watch my friend Amit's Video on laser beam focussing
Group Assignment
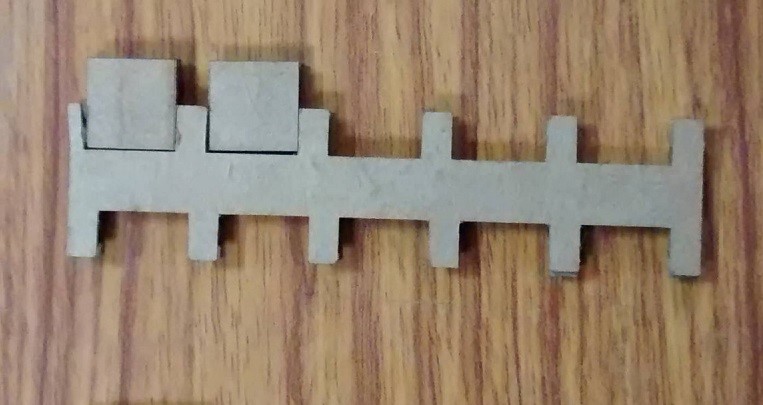
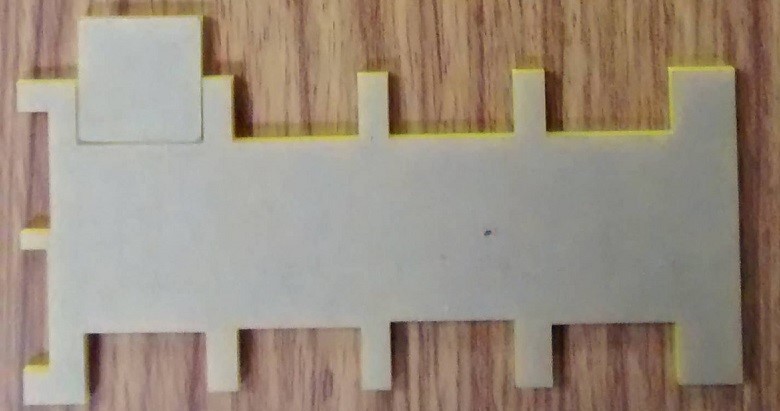
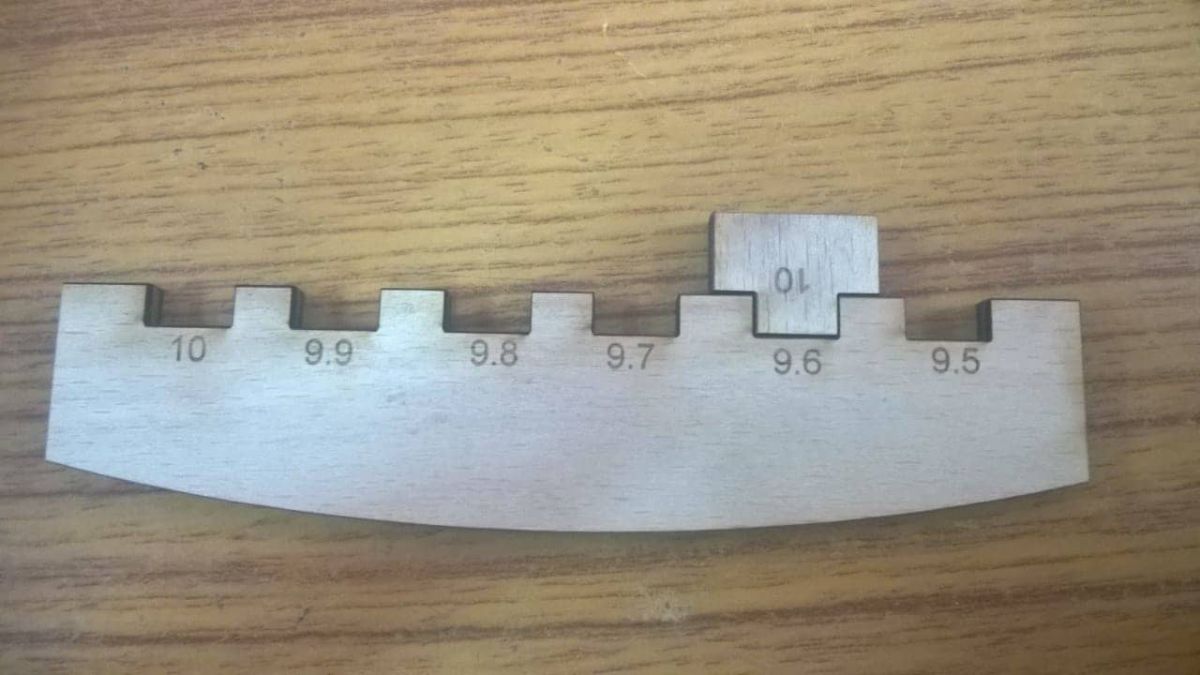
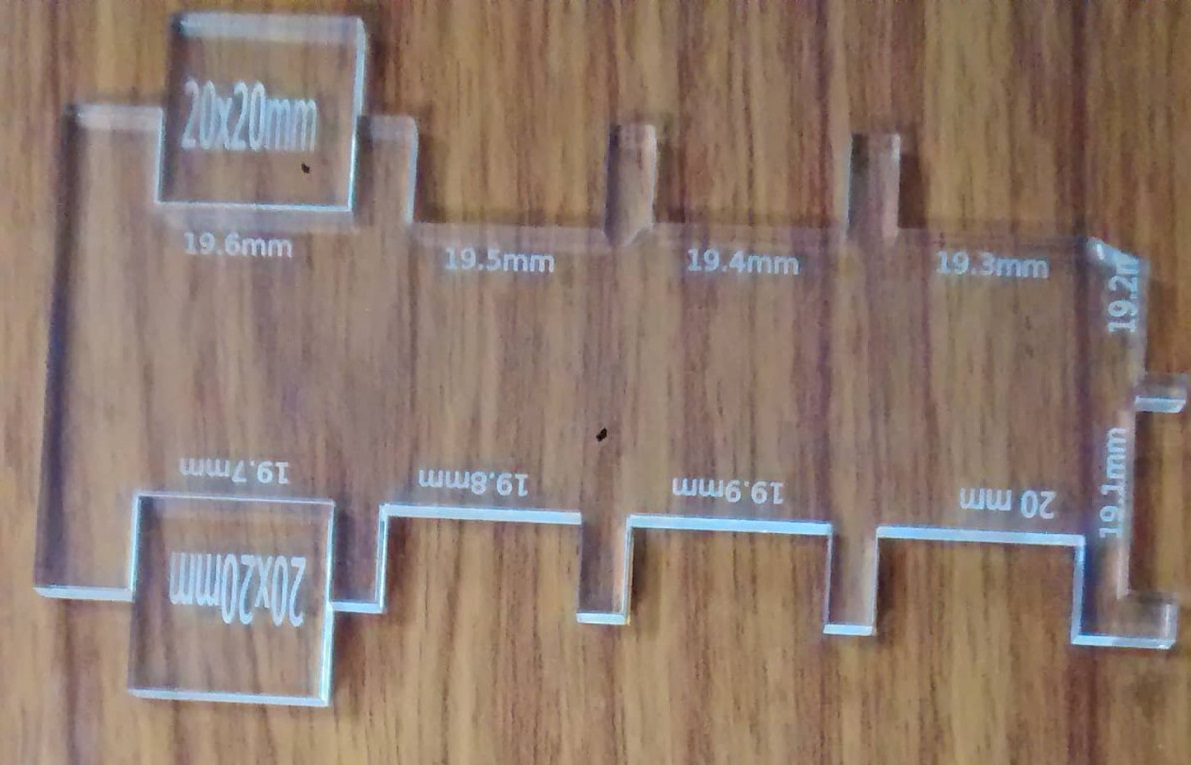
Using the Laser cutter we have to construct a press fit kit as a group project we have to find out the kerf (Dimension reduced due to the cutting operation) of different materials like cardboard,acrylic and wood.We worked for acrylic 4mm ,acrylic 3 mm ,cardboard and wood. After setting up the design files we converted the sketch to dxf format and using inkscape the cutting operations was performed. After cutting we measured the kerf and the optimal tight fit for each materials. After perfom the cutting ,we measure the kerf of each test parts. kerf for wood kerf is 0.3mm, kerf for cardboard is 0.2 and Kerf for acrylic is 0.3mm.
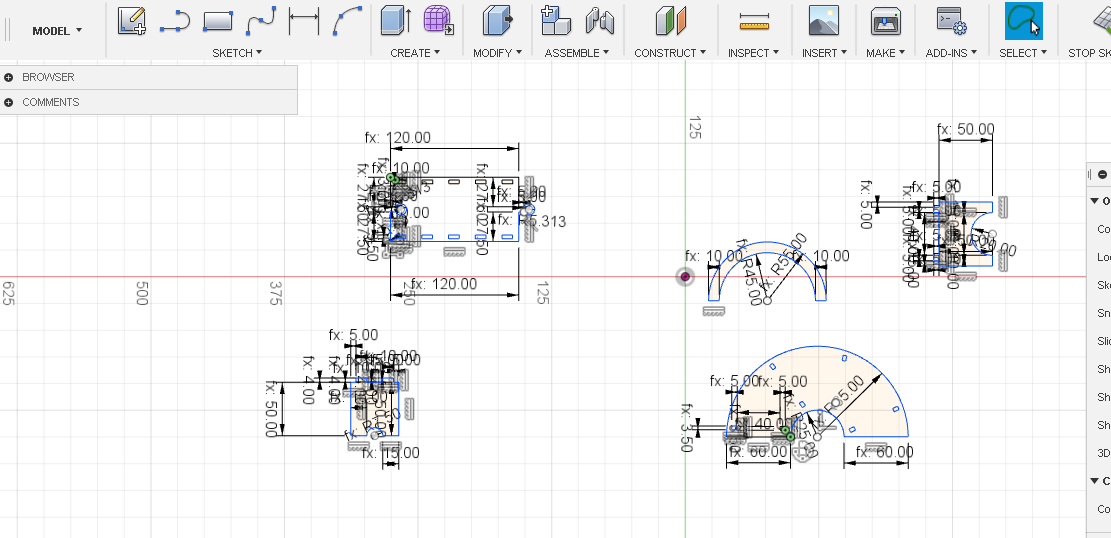
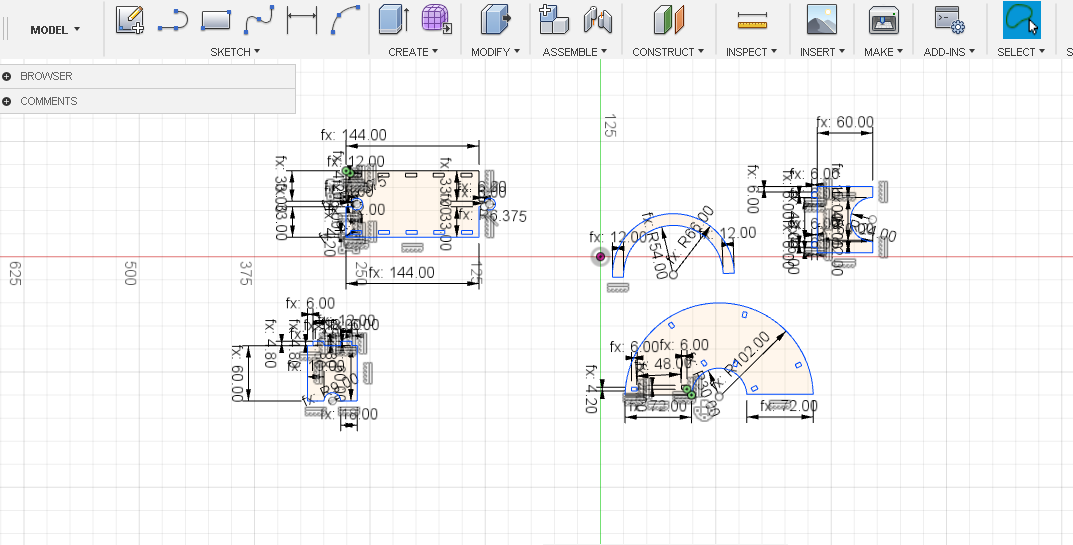
Parametric Press fit Modelling
Parametric designing is a process based on algorithmic thinking that enables the expression of parameters and rules that, together, define, encode and clarify the relationship between design intent and design response.To be simple,the designing will be based on a single base pararmeter and its value and after designing when we change the base parameter,all the other model parameters gets changed propotionally. I used Fusion 360 for designing the kit,getting a kerf of 0.2 for cardboard ,in our lab we have it of 3.7mm i designed with 3.5mm thickness and keeping this as the base parameter,I went on designing the model.At last i checked by changing the base dimension and correspondingly all the others changed.
Drafting with fusion 360

After drafting i cross checked the parametric designing by changing the base dimension and it came out well.
Later during my Global evaluation I came to know that my one file designed for parametric was broken.Hence I redraw that and checked with a lower value and upper value.My parametric value was 5 mm named base, and I checked with 4mm and 6 mm and it worked.

laser cutting gif
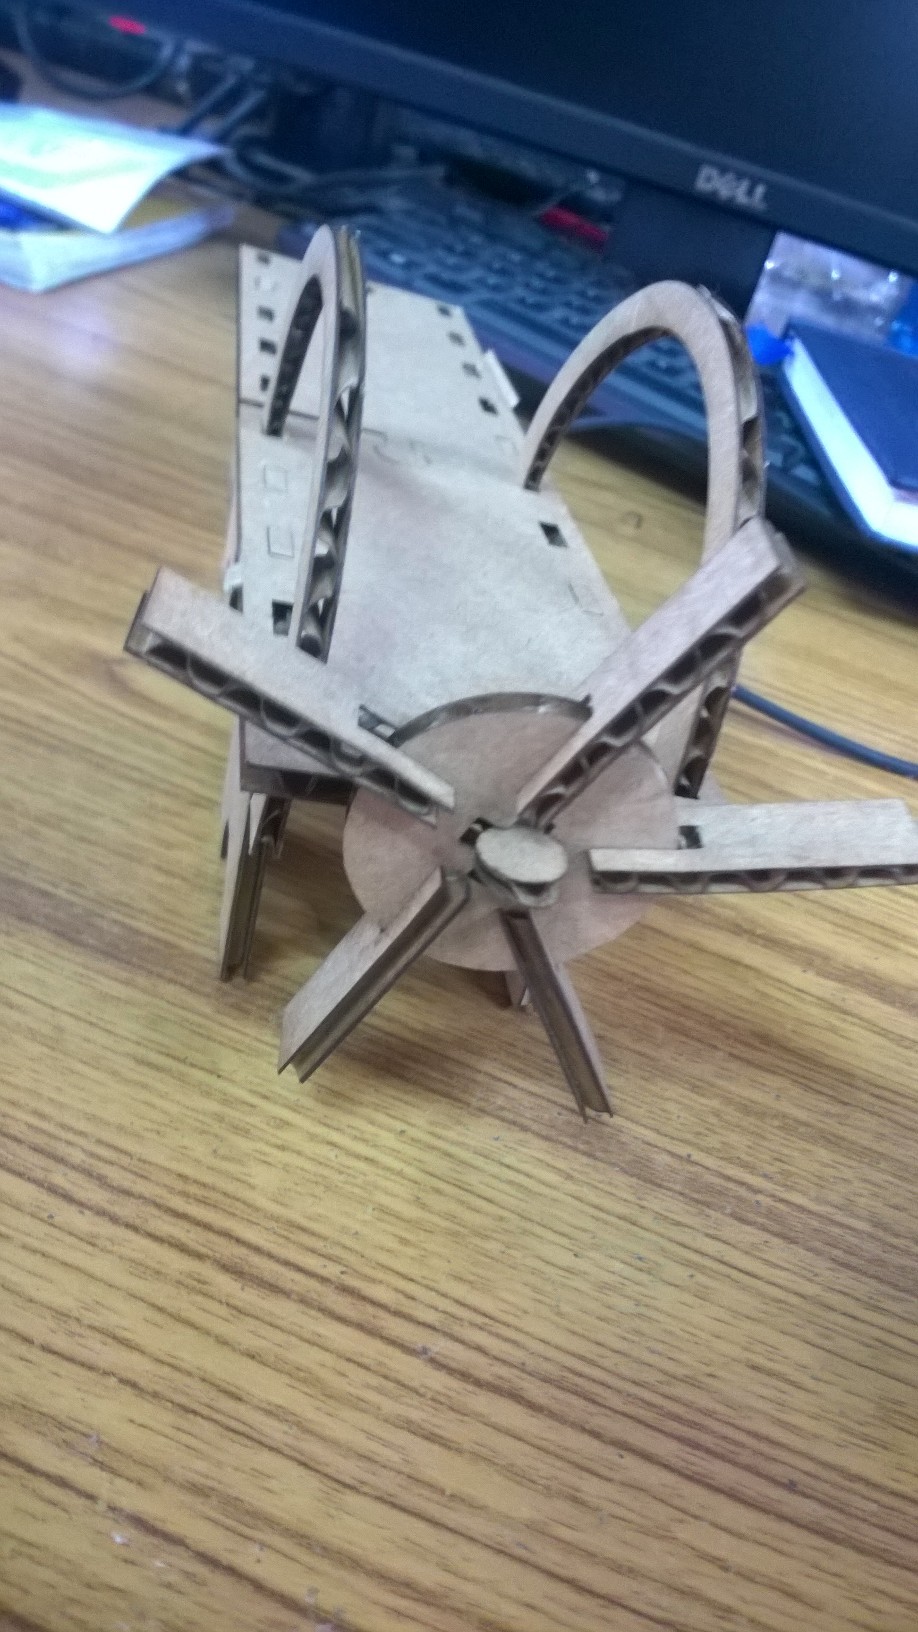
PRESS FIT MODELS

KIT PARTS
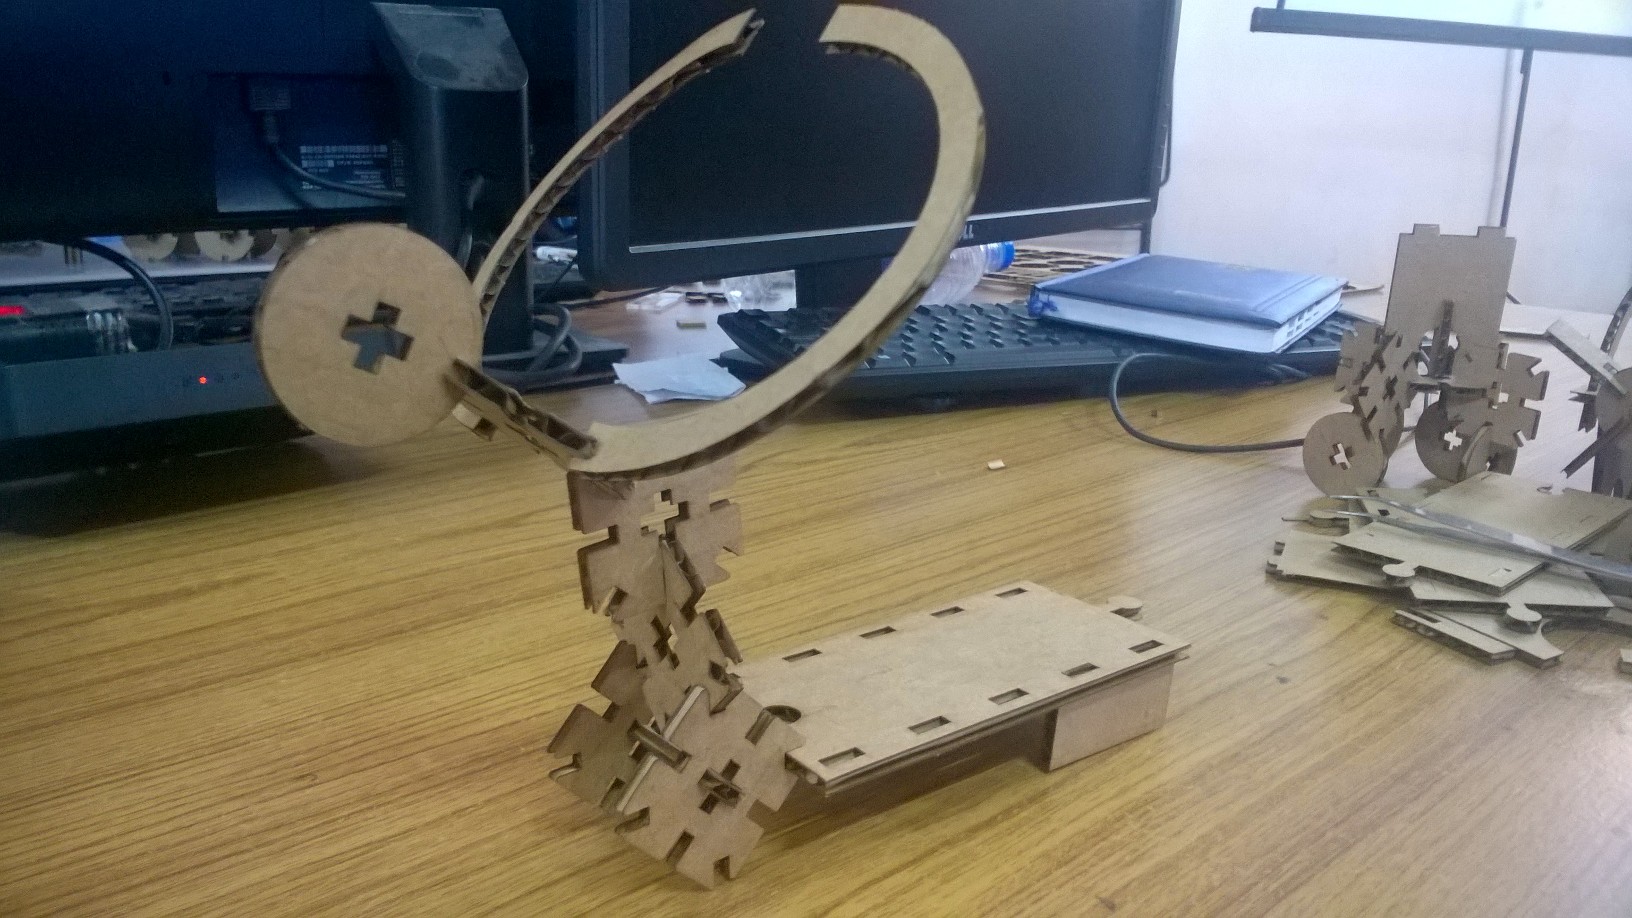
EMBRACING STATUE
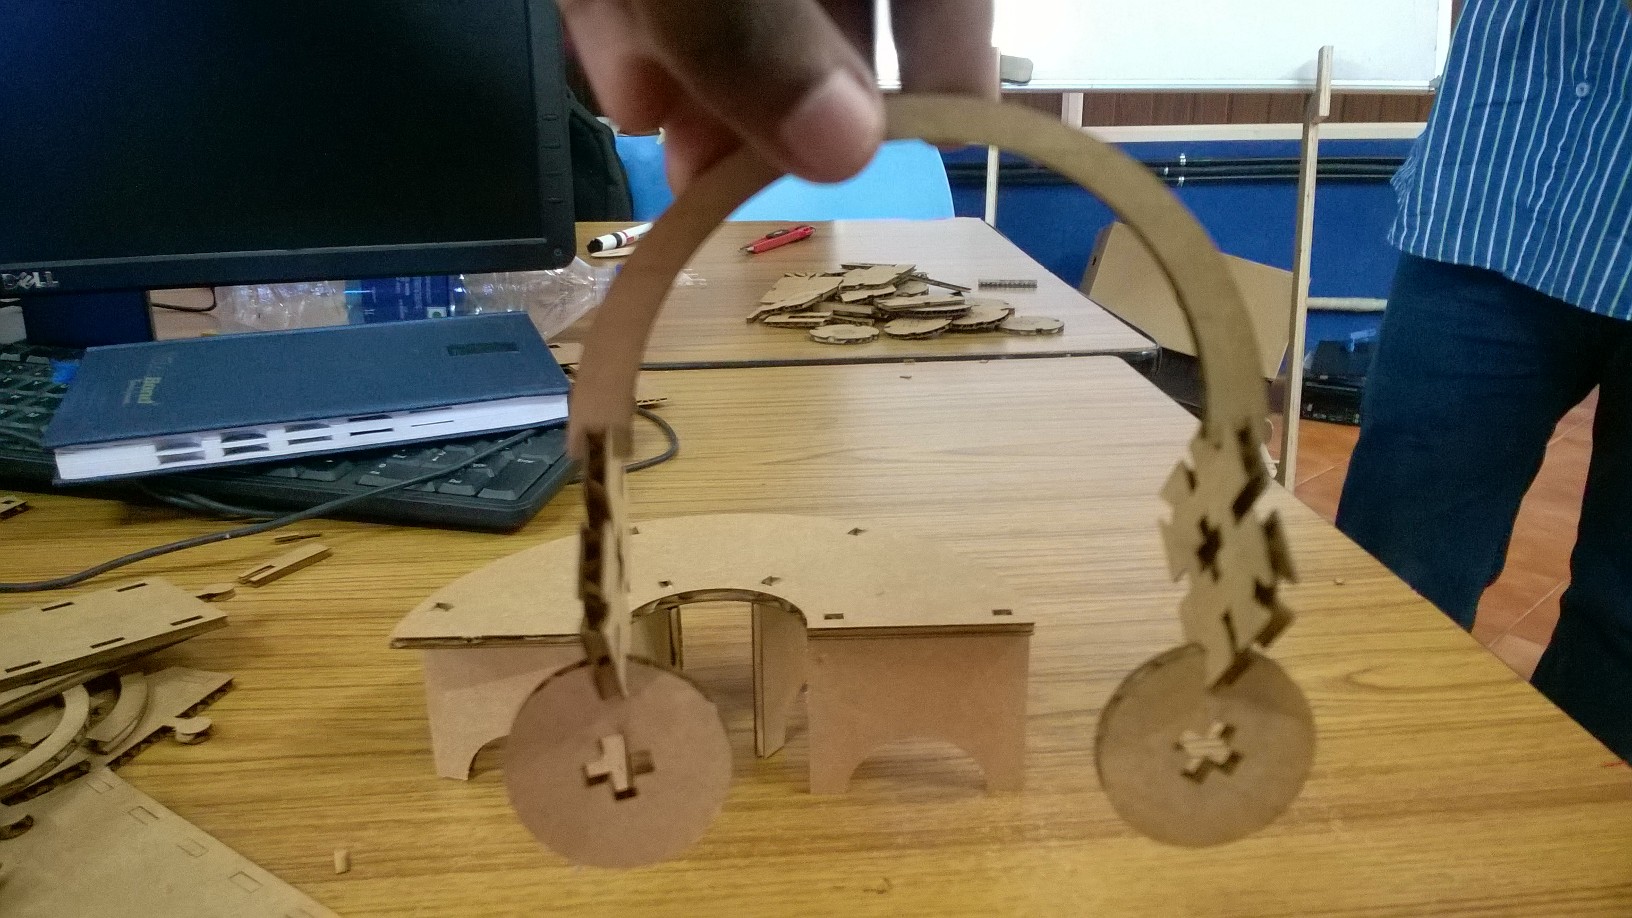
HEADPHONES
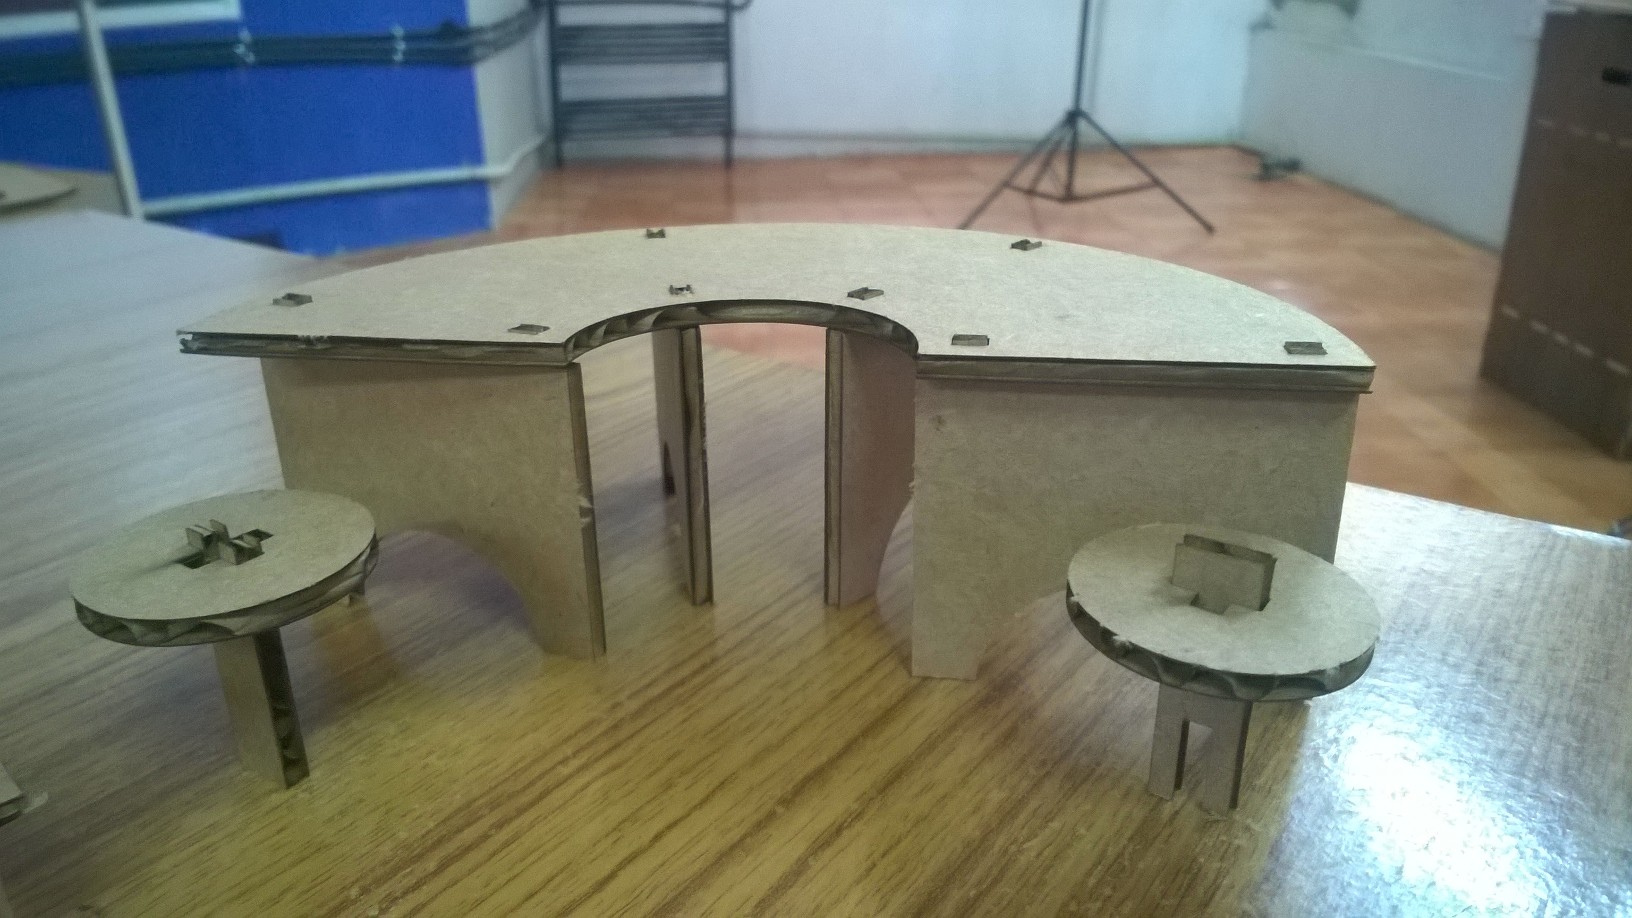
TABLE AND CHAIR
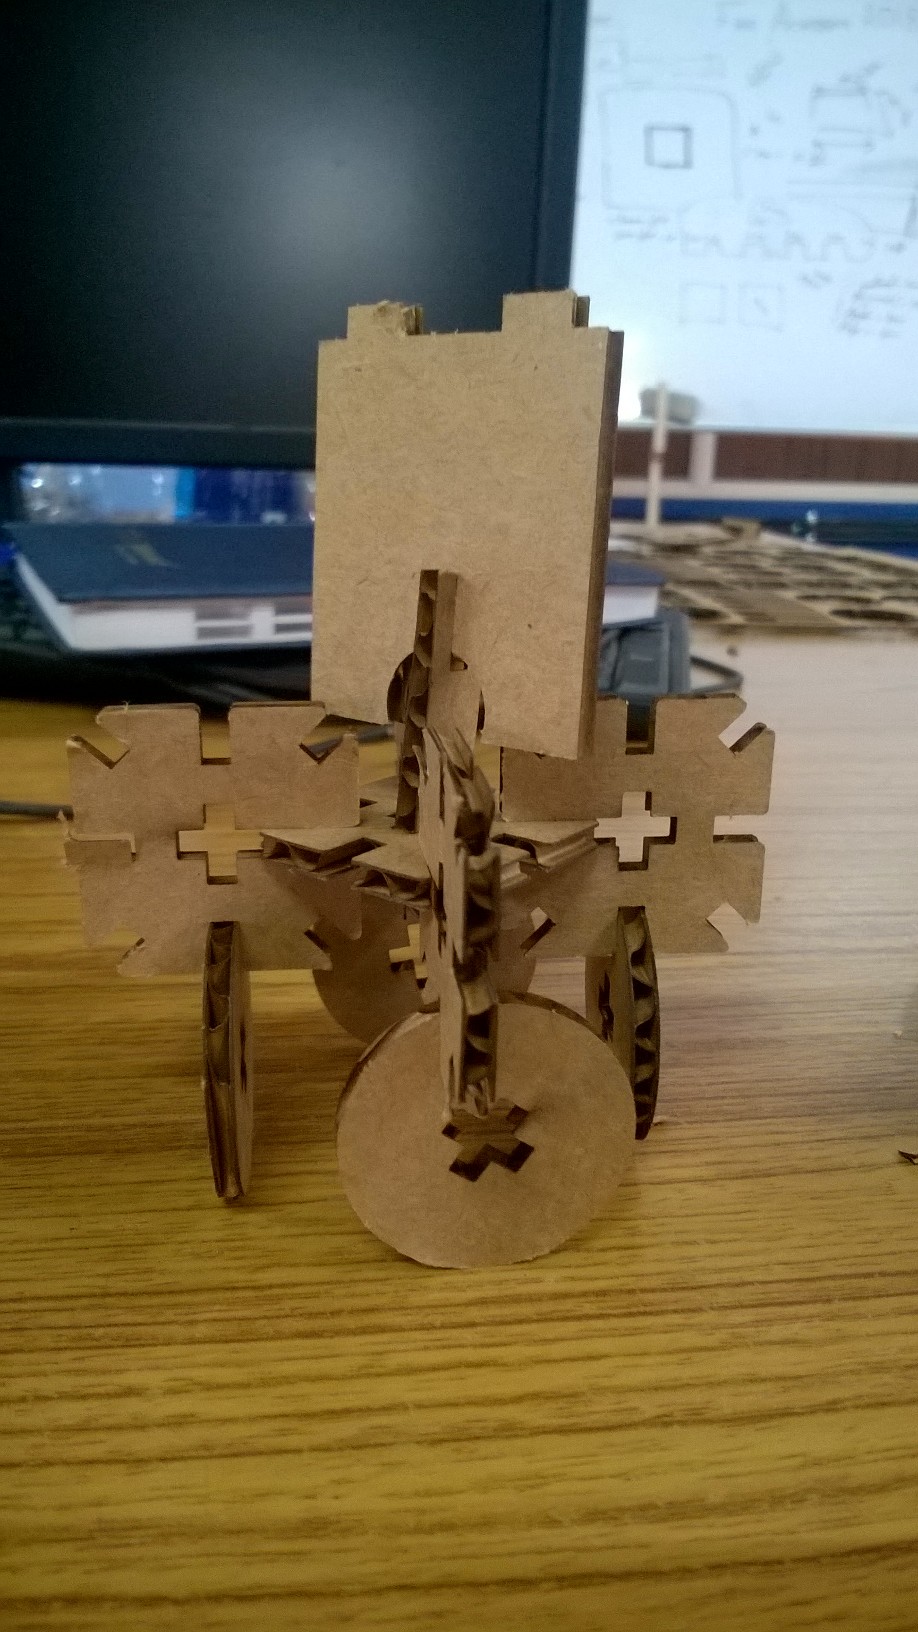
LOOK LIKE ROBOT (PIXAR)
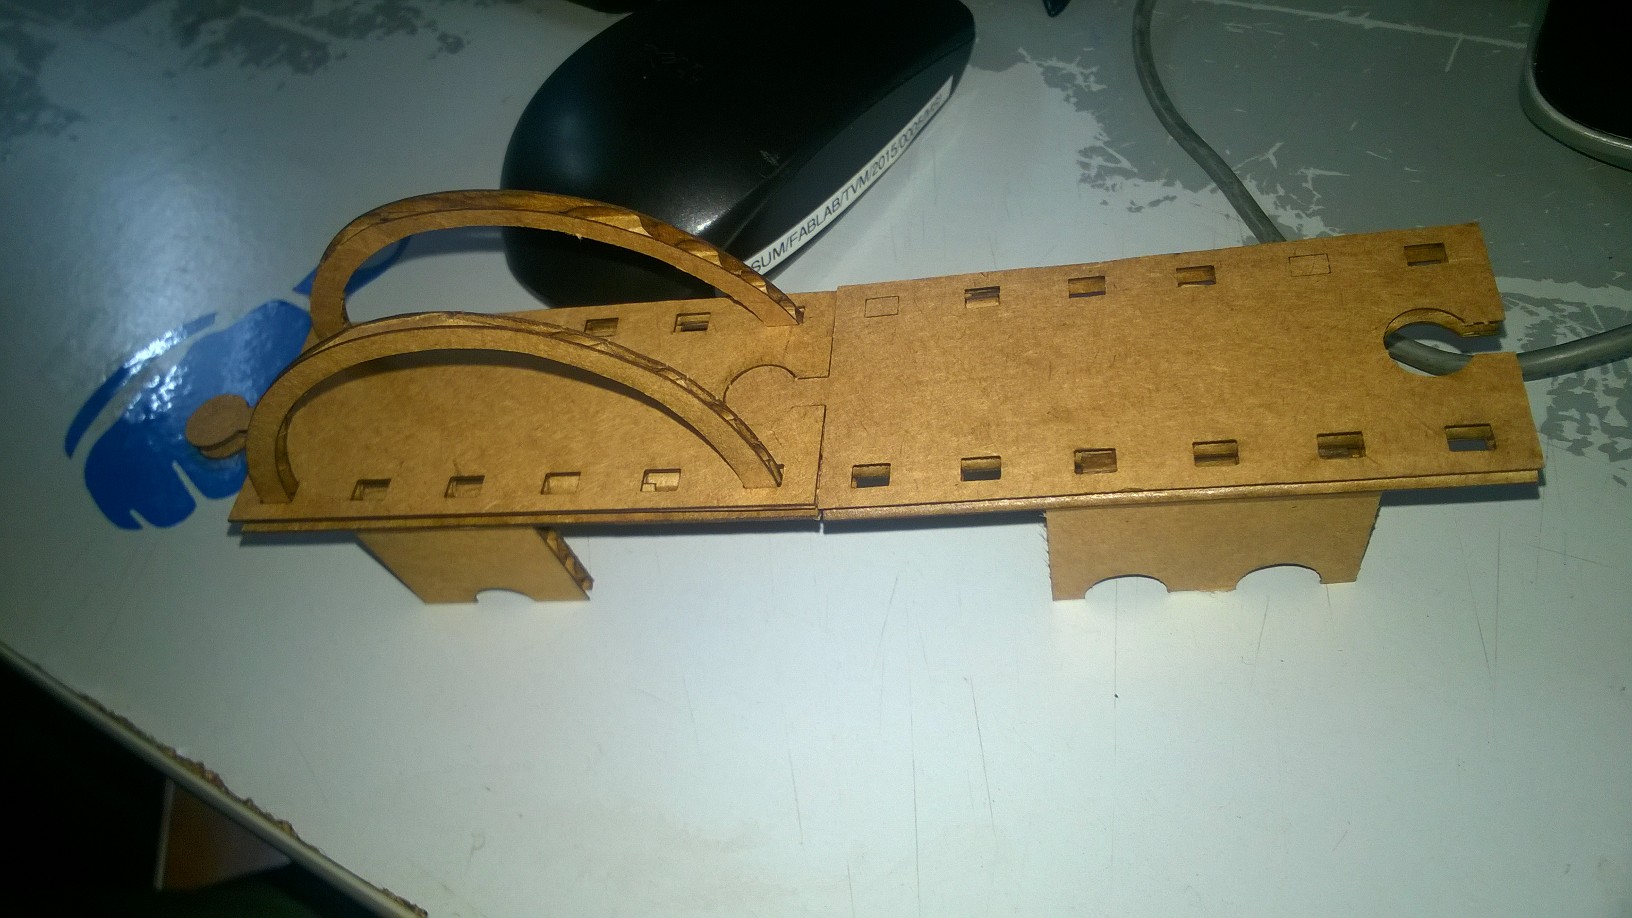
BRIDGE UNDER CONSTRUCTION
SUGGESTIONS???
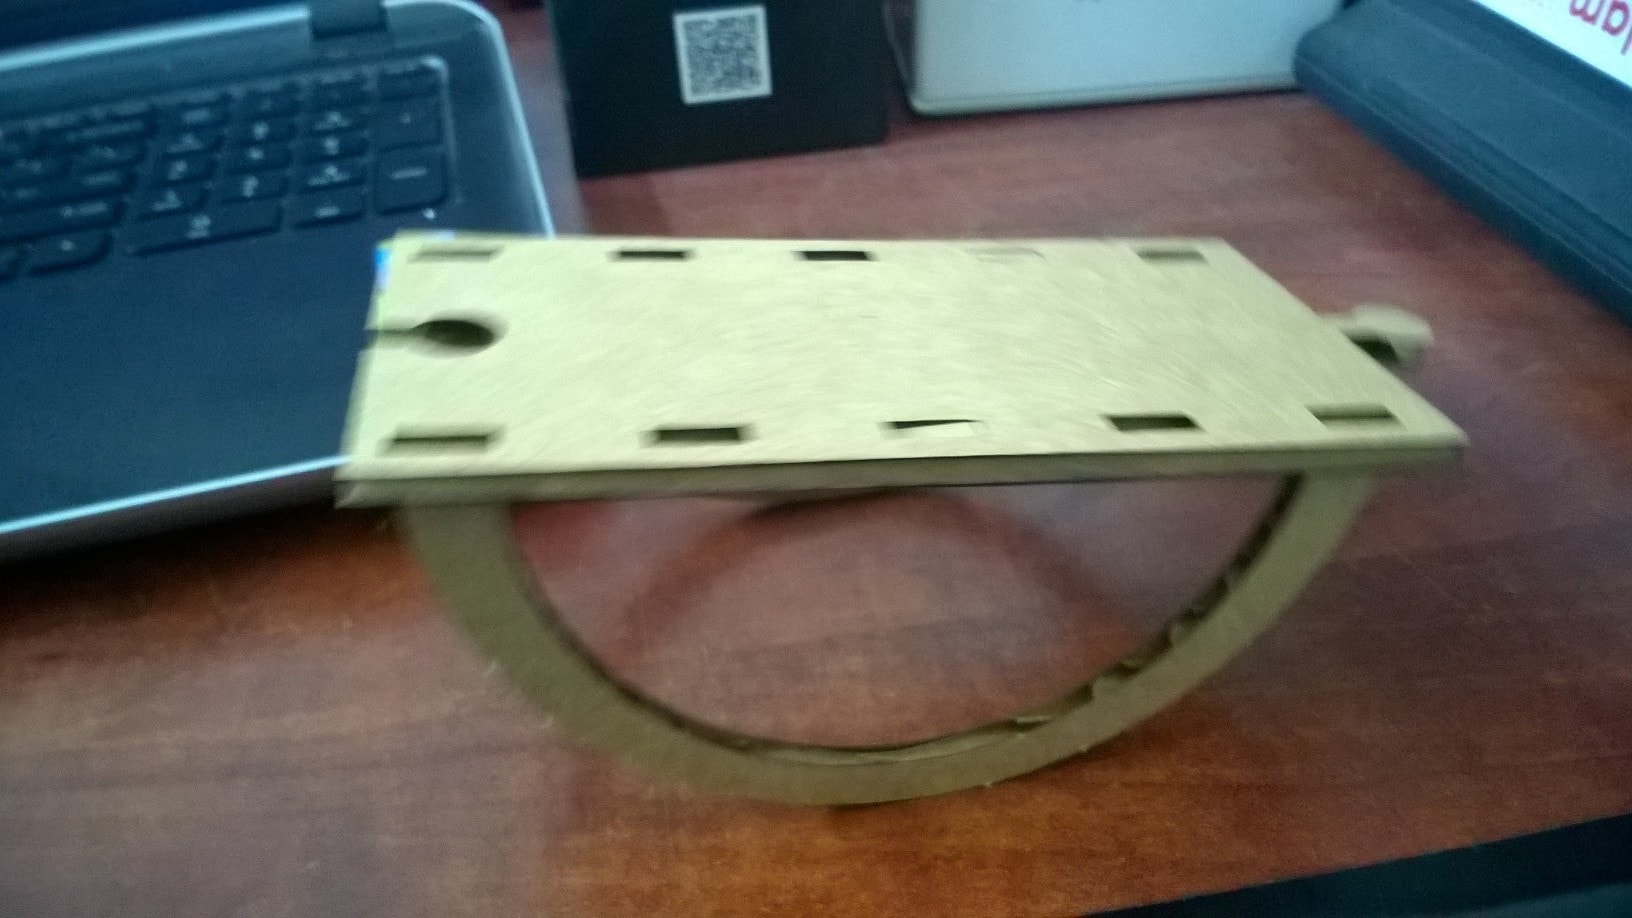
SEE SAW
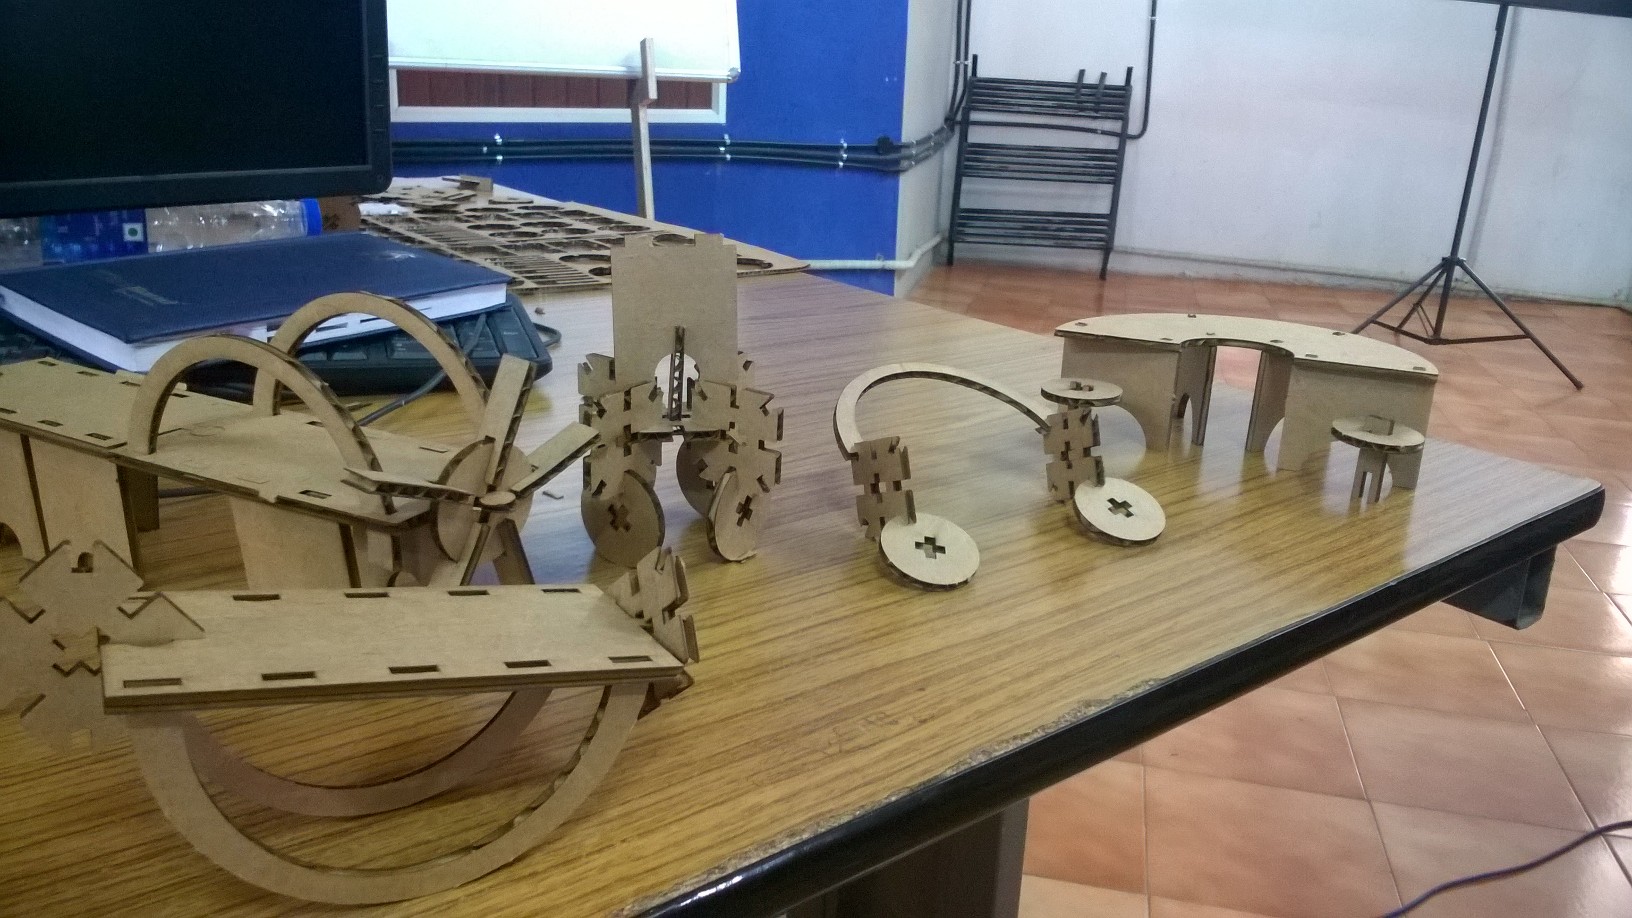
KIT PARTS AFTER AN HOUR